
Setting Up Screaming Frog for a 10,000-URL Site Without Crashing
Screaming Frog's memory settings explained: database vs memory storage mode, how much RAM to allocate, and the steps to crawl 10,000 URLs cleanly.

A 10,000-URL crawl doesn’t actually need special memory settings in Screaming Frog, it sits inside the tool’s default allocation in either storage mode, so if yours is crashing, the real problem is almost always the storage mode or a setting that got changed by accident, not the URL count itself. Fix the storage mode and allocation properly once, and a 10k-page site becomes a non-event.
This surprises people because the crash itself feels proportional to the site size, so the instinct is to blame scale. In practice, Screaming Frog’s own documentation states its default 2GB allocation handles crawls of roughly 10,000 to 100,000 URLs without any manual tuning. If a crawl in that range is failing, something specific is misconfigured, and it’s fixable in about five minutes once you know where to look.
What actually happens when memory runs low?
Screaming Frog doesn’t just silently die mid-crawl in most cases. It surfaces a specific warning along the lines of running out of memory for the current crawl, which is your signal to act rather than push through by clicking it away. The instinct under deadline pressure is to dismiss the warning and hope the crawl finishes anyway. Don’t. Save the crawl the moment you see it, because a forced crash after that point can lose data you’d otherwise keep.
Once you’ve saved, you’ve got two real options: reopen with a higher memory allocation, or reopen in database storage mode if you were running in memory mode. Either fixes the immediate problem. Only the memory allocation fix addresses the underlying cause if the crawl is going to keep growing.
Why does this actually go wrong?
Three things cause most of the crashes I get asked about. First, someone’s still running in the older Memory Storage Mode on a machine that doesn’t have much RAM to spare, which caps out faster than Database Storage Mode. Second, a stray configuration line in the launcher file overrides the memory setting you think you applied through the interface, so the change never actually takes effect. Third, and this one’s genuinely common, the crawl scope is wider than the person realises. What looks like a 10,000-page site can balloon past that the moment faceted navigation, calendar pages, or a poorly configured staging subdomain get swept into the same crawl.
How do you configure Screaming Frog correctly, step by step?
This is the sequence worth running through before you start a crawl of any meaningful size, not just when something’s already broken.
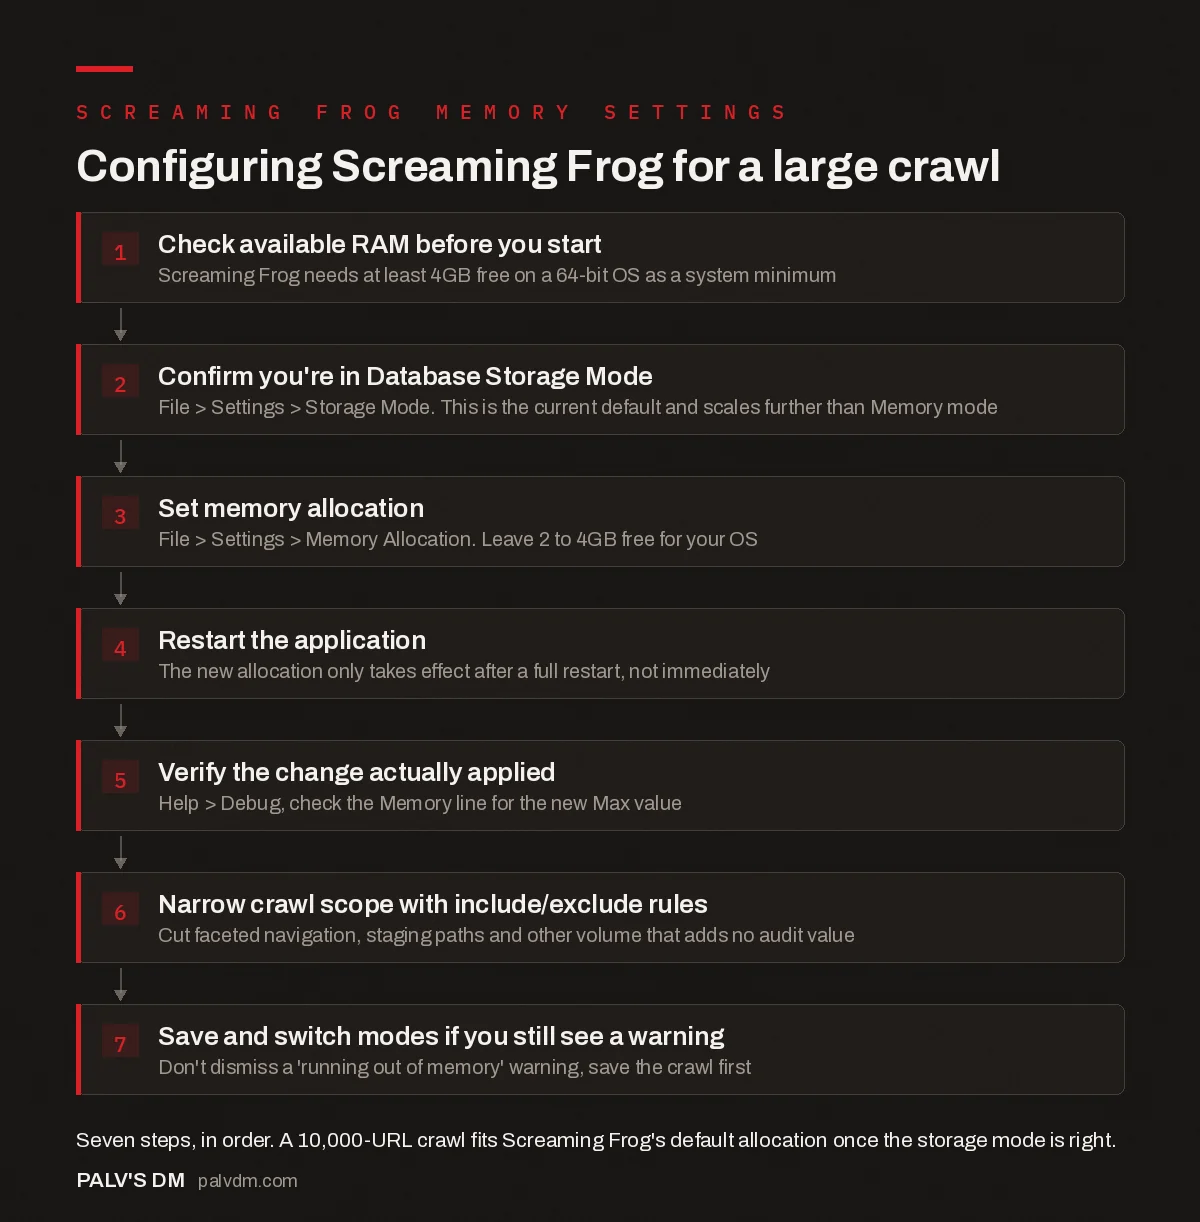
Configuring Screaming Frog for a large crawl
- Check available RAM before you start. Screaming Frog needs at least 4GB free on a 64-bit OS as a system minimum.
- Confirm you’re in Database Storage Mode. File > Settings > Storage Mode. This is the current default and scales further than Memory mode.
- Set memory allocation. File > Settings > Memory Allocation. Leave 2 to 4GB free for your OS.
- Restart the application. The new allocation only takes effect after a full restart, not immediately.
- Verify the change actually applied. Help > Debug, check the Memory line for the new Max value.
- Narrow crawl scope with include/exclude rules. Cut faceted navigation, staging paths and other volume that adds no audit value.
- Save and switch modes if you still see a warning. Don’t dismiss a ‘running out of memory’ warning, save the crawl first.
Step two is the one people skip because Database Storage Mode has been the default for a while now, and plenty of long-time users are still running configurations carried over from years-old installs that predate the switch. It’s worth checking explicitly rather than assuming.
What do the actual memory numbers look like?
Screaming Frog publishes rough sizing guidance that’s worth having on hand rather than guessing.
| Crawl size | Recommended setup |
|---|---|
| Up to ~100,000 URLs | Default 2GB allocation, either storage mode, usually no changes needed |
| Up to ~200,000 URLs | 8GB of RAM available is generally sufficient |
| Up to ~2,000,000 URLs | Database storage mode with 4GB allocated, SSD recommended |
| 1,000,000+ URLs | SSD plus 16GB of RAM or higher recommended |
For the general system minimum, Screaming Frog states a 64-bit OS with at least 4GB of RAM available. If your machine is sitting right at that floor, a 10,000-URL crawl should still complete, but you won’t have much comfortable headroom for anything else running at the same time.
What if you’re still hitting a wall at 10,000 URLs?
- Check for crawl traps first. Before touching memory settings again, confirm the crawl is actually stopping near 10,000 URLs and not silently ballooning toward 40,000 because of parameter-based duplicate URLs or an infinite calendar widget.
- Exclude non-essential paths. Use the exclude configuration to cut out things like
/wp-json/, tag archives, or filtered category combinations that add crawl volume without adding audit value. - Turn off image, CSS and JS crawling if you don’t need them. This alone can meaningfully cut memory pressure on a content-heavy site, since every resource discovered gets stored too.
- Confirm the change actually applied. Check Help, then Debug, and read the Memory line. I’ve seen more than one “the setting didn’t work” ticket that turned out to be someone forgetting to restart the application after changing the allocation.
Why doesn’t my memory change through the interface actually apply?
This is the single most frustrating version of the problem, because you do everything right in the settings dialog and the crash happens anyway. Two culprits cause almost all of it. The first is simply forgetting to restart the application; the new allocation only takes effect on the next launch, not immediately. The second, less obvious one is a leftover line in the launcher configuration file (ScreamingFrogSEOSpider.l4j.ini on Windows) that hardcodes an old -Xmx memory value from a previous manual edit, which silently overrides whatever you set through the interface afterward.
There’s a third, rarer cause worth knowing about if you’ve ever manually tweaked Java settings on your machine for another application: a system-wide _JAVA_OPTS environment variable can override Screaming Frog’s own memory configuration entirely, without any error message telling you that’s what happened. If you’ve genuinely set the allocation correctly, restarted, and it’s still not sticking, checking for that environment variable is worth five minutes before assuming the tool itself is broken.
Is this worth fixing properly, or just a one-off annoyance?
Worth fixing properly. If you’re running crawls regularly, whether that’s weekly audits, migration checks, or ongoing client work, getting the storage mode and memory allocation right once removes a recurring interruption that otherwise eats real time. A crash mid-crawl on a 10,000-page site doesn’t just cost you the wait, it costs you the reconfiguration and rerun, which on a slow connection or a big site can be the better part of an hour lost to a five-minute settings fix you never got around to making.
The other reason it’s worth doing properly rather than patching around it crawl by crawl: correct settings now are the same settings you’ll need when a client’s site grows past 10,000 pages, or when you take on a bigger account. Configuring for headroom once beats reconfiguring under pressure later.
In practice, once a machine’s memory allocation and storage mode are set correctly, most people never touch this configuration again until they change laptops. It’s a five-minute task with a payoff that lasts years, which puts it firmly in the category of technical SEO housekeeping worth doing on day one rather than after the third crash.
Frequently asked questions
Why does Screaming Frog crash or slow down on large crawls?
Almost always insufficient memory allocated to the application relative to the crawl size and storage mode you’re using, not a bug in the tool itself. Screaming Frog will warn you directly with a running out of memory message before it actually crashes, which is your cue to save the crawl and adjust settings.
How much RAM do I need to crawl 10,000 URLs safely?
A 10,000-URL crawl sits comfortably within Screaming Frog’s default settings in either storage mode. The tool’s own documentation states its default 2GB memory allocation enables crawls of typically 10,000 to 100,000 URLs, so a 10k-page site rarely needs any manual adjustment at all.
Should I use database storage mode or memory storage mode?
Database storage mode is the current default and the better choice for almost everyone, since it writes crawl data to disk rather than holding everything in RAM, auto-saves as it goes, and scales further before you hit a wall. Memory storage mode is mainly relevant for older machines without an SSD or with very limited disk space.
How do I increase Screaming Frog’s memory allocation?
Go to File, Settings, Memory Allocation on Windows and Linux, or the equivalent path under the application menu on macOS. Set the allocation, leaving at least 2 to 4GB of RAM free for your operating system, then restart the application for the change to take effect.
How do I know how much memory Screaming Frog is actually using?
Open Help, then Debug, and look at the Memory line. It reports your physical RAM alongside the Max value currently allocated to the application, which confirms whether your settings change actually applied before you start a large crawl.
What should I do if I still get a memory warning after increasing RAM?
Save the crawl immediately when the warning appears, then switch to database storage mode if you were running in memory mode, or narrow the crawl scope with include and exclude rules so you’re not pulling in unnecessary sections of the site in the same pass.
Sources
- Screaming Frog SEO Spider User Guide — General Settings and Memory Allocation
- Screaming Frog SEO Spider — FAQ
- Technical SEO: The Complete Guide
- Screaming Frog vs Sitebulb: Which Crawler to Learn First
- Crawling a Site You Don’t Own: Ethics and Rate Limits
- How to Verify a Tool’s Data Before You Trust It
Want this done on your site?
Every PalV’s DM engagement starts with a free audit of your actual website — a 12-point
crawl covering what is blocking indexation, on-page gaps against your primary keywords, speed
findings, and the three to five fixes worth making first. Delivered in two working days. No
payment details, and the findings are yours whether you hire us or not.